Radial blur is one of the most effective ways to suggest speed, impact, rotation, or visual focus in a still photograph. When used carefully, it can turn an ordinary image into a dynamic composition that feels as if the camera, subject, or viewer is moving through space. The key is restraint: a convincing blur radial effect should support the story of the image, not overwhelm it.
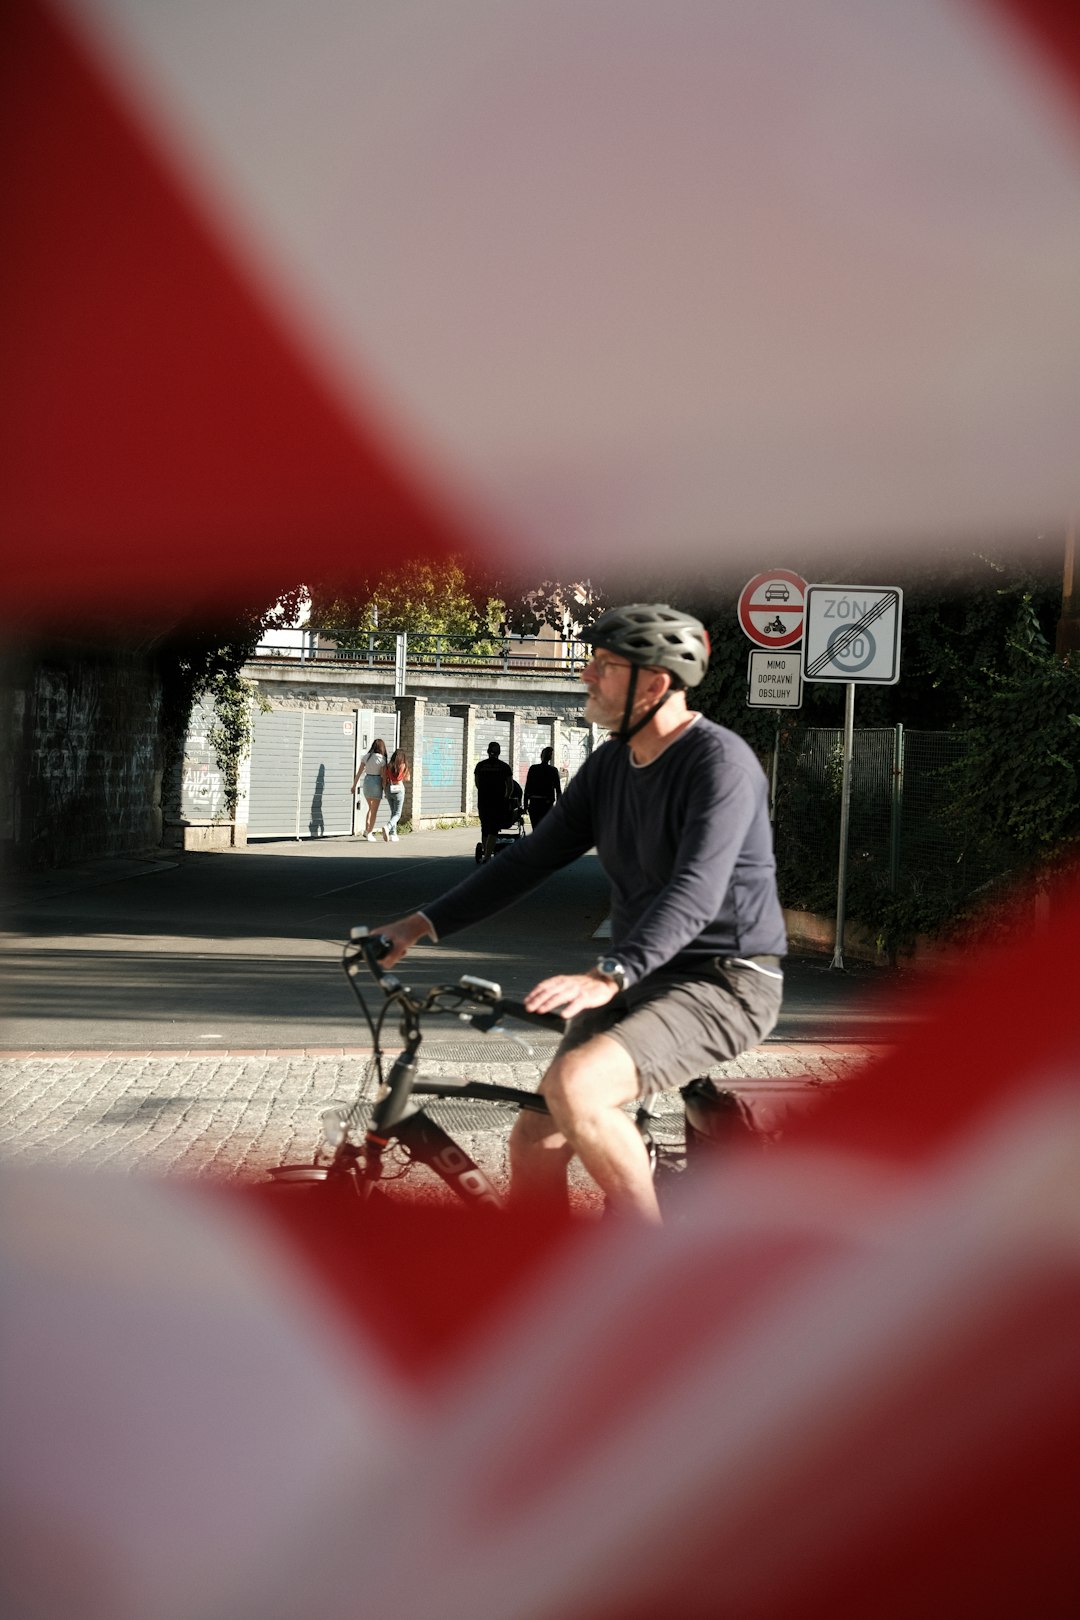
TLDR: A blur radial effect creates motion by blurring pixels outward from, or around, a central point. For example, a cyclist photographed on a city street can appear 30–40% more dynamic when the background is radially blurred while the rider remains sharp. The best results come from selecting a clear focal point, controlling blur strength, and masking important details. Use the effect when you want to emphasize speed, energy, depth, or visual attention.
What Is a Blur Radial Effect?
A blur radial effect is a photo editing technique that applies blur in a circular, zooming, or spinning direction from a chosen center point. Unlike a standard Gaussian blur, which softens an image evenly, radial blur creates directional movement. This makes it especially useful for scenes involving vehicles, athletes, crowds, product highlights, nightlife, and dramatic portraits.
There are two common types of radial blur:
- Zoom blur: The blur appears to stretch outward from the center, creating the feeling of rapid forward movement or acceleration.
- Spin blur: The blur follows a circular path, creating a sense of rotation, turning, or centrifugal force.
Both types can be effective, but they serve different visual purposes. Zoom blur is ideal for drawing the eye toward a subject, while spin blur works better when the scene naturally involves circular movement, such as wheels, dance, machinery, or sports action.
Why Radial Blur Works Visually
Human vision naturally pays attention to sharp areas, contrast, and directional cues. A radial blur effect uses all three. By blurring the surrounding pixels while preserving a central subject, the image tells the viewer where to look. The blurred lines also imply movement, even though the photograph itself is static.
This is why radial blur is often used in advertising, editorial photography, sports graphics, music posters, and social media visuals. It creates energy without requiring a complicated scene. A simple portrait, car photo, or street image can gain a stronger sense of urgency when the effect is applied with precision.
However, credibility matters. If the blur is too strong, misaligned, or applied to the wrong parts of the image, it can look artificial. A serious, professional result depends on choosing the right subject and maintaining believable visual logic.
When to Use Radial Blur
Radial blur is most effective when the image already suggests movement or focus. It should enhance an existing idea rather than compensate for a weak shot. Consider using it in the following cases:
- Sports photography: To emphasize speed, force, or competition.
- Automotive images: To make cars, motorcycles, or bicycles feel faster.
- Portraits: To create drama and direct attention to the face.
- Event photography: To communicate crowd energy, music, or nightlife.
- Product images: To make a featured object stand out from a busy background.
A practical example is a running shoe campaign. If the shoe is sharp and the background appears to rush outward, the viewer immediately understands speed and performance. In commercial testing, visuals that strongly communicate motion often receive higher engagement because they are easier to interpret within the first second of viewing.
How to Create a Radial Blur Effect
The exact steps vary depending on the editing software, but the professional process is largely the same. The goal is to protect the subject while adding controlled motion around it.
- Choose a suitable image. Select a photograph with a clear subject and enough background detail for the blur to be visible.
- Duplicate the image layer. Always work non destructively so you can adjust or remove the effect later.
- Set the center point. Place the blur origin where you want the viewer’s eye to go, usually on the face, vehicle, product, or main action.
- Select zoom or spin blur. Use zoom for forward motion and spin for circular motion.
- Adjust blur strength. Start with a modest amount. A setting that looks dramatic at 100% view may look excessive when exported.
- Mask the subject. Use a layer mask or selection tool to keep important details sharp, especially eyes, logos, edges, and hands.
- Refine contrast and sharpness. After blurring, add subtle sharpening or contrast to the focal point so it remains visually dominant.
Best Practices for Realistic Results
A natural blur radial effect depends on consistency. The viewer should believe the motion direction. For example, if a car is moving toward the camera, a zoom blur centered on the car makes sense. If the blur appears to rotate around the car for no reason, the result may feel confusing.
Follow these guidelines for stronger results:
- Keep the focal point sharp. The subject should remain readable. If everything is blurred, the image loses impact.
- Use moderate intensity. In many cases, a subtle effect between 10% and 35% strength looks more professional than an extreme blur.
- Match the scene. Directional blur should fit the implied movement of the subject.
- Avoid blurring text too much. If the image includes signage, labels, or typography, preserve legibility where it matters.
- Check edges carefully. Poor masking around hair, wheels, or product outlines can reveal the edit.
One useful method is to apply the blur on a duplicate layer and then reduce opacity. This gives you more control than relying on the filter strength alone. You can also paint the mask gradually with a soft brush so the transition between sharp and blurred areas feels smoother.
Common Mistakes to Avoid
The most common mistake is assuming that stronger blur equals stronger motion. In reality, excessive blur can reduce realism and make the photo look amateur. Professional editing often depends on subtlety, especially when the final image will be used for branding, editorial work, or client presentation.
Another issue is placing the blur center incorrectly. If the center point falls beside the subject instead of on it, the motion will pull attention away from the main idea. This is particularly damaging in portraits, where the eye expects the face to remain dominant.
Also avoid applying the same blur evenly to both foreground and background. Real scenes have depth. Objects closer to the viewer may require different treatment from distant elements. A more advanced edit may involve multiple masks, varied blur strengths, or selective sharpening.
Radial Blur for Creative Storytelling
Beyond technical execution, radial blur is a storytelling tool. It can make a quiet image feel urgent, a static object feel powerful, or a simple portrait feel cinematic. The best use of the effect begins with a question: What should the viewer feel first?
If the answer is speed, create outward energy. If the answer is tension, use a tighter blur around the subject. If the answer is rotation or chaos, a spin blur may be appropriate. In all cases, the effect should serve the emotional message of the photograph.
Final Thoughts
A blur radial effect can be a highly effective way to create dynamic motion in photos, but it requires thoughtful application. Choose images with a strong focal point, align the blur with the implied movement, and protect important details with careful masking. When used with discipline, radial blur adds energy, depth, and direction while preserving the credibility of the image.
For serious photo editing, the difference between a gimmick and a professional effect is control. Use radial blur not because it is dramatic, but because it makes the subject clearer, the story stronger, and the image more engaging.