For many first-time users, launching DaVinci Resolve feels like stepping into the cockpit of a high-end spacecraft. The rows of buttons, the color grading panels, and the multiple workspaces can be overwhelming—even intimidating. But fear not: with a few beginner-focused tutorials and a step-by-step approach, you can transform the confusion into confidence and start editing like a pro (without needing a NASA certification).
Why DaVinci Resolve Feels Overwhelming and Why That’s Okay
If you’re coming from simpler video editing platforms like iMovie or Shotcut, DaVinci Resolve’s interface might feel like overkill. It’s a professional-grade editing software with tools built for Hollywood colorists, sound designers, and professional editors. Yet Blackmagic Design—the creators of Resolve—also built it with scalability in mind. That means beginners can find their way, and in fact, the software becomes a great learning sandbox for developing more advanced skills over time.
The key problem is the learning curve. DaVinci Resolve adds immense power, but it demands a little orientation first. Luckily, a growing community of editors and educators has built resources tailored for beginners. Here’s how to make sense of it all and actually enjoy the ride.
Step 1: Start on the Cut Page—Not the Edit Page
The Cut page is Resolve’s newest addition and is designed for quick, intuitive editing. It offers a streamlined interface where you can cut clips, add transitions, and do basic edits with minimal complexity.
- Don’t start with color grading. You’ll get overwhelmed quickly.
- The dual timeline feature on the Cut page allows you to see both a zoomed-out and zoomed-in view of your entire project.
- Basic edits like ripple delete, trim, and add transitions are easier to execute here than on the more complex Edit page.
Think of the Cut page as your friendly introduction, easing you into the full potential of Resolve. It’s clean, effective, and perfect for building confidence.

Step 2: Learn Basic Keyboard Shortcuts
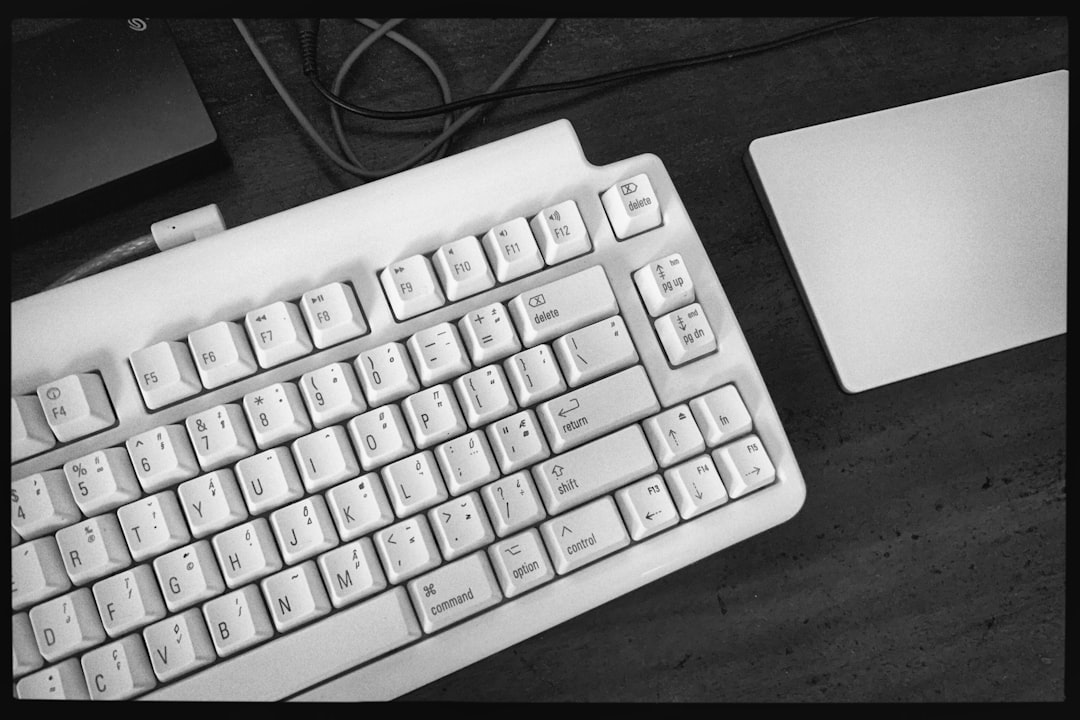
Keyboard shortcuts are the cheat codes of video editing. Memorizing just a few will speed up your workflow and make the experience less frustrating. Here are some beginner-friendly shortcuts worth noting:
- Ctrl/Cmd + B: Blade tool to cut clips on the timeline
- Ctrl/Cmd + Z: Undo
- Ctrl/Cmd + Shift + Z: Redo
- Spacebar: Play/pause your project
- I / O: Mark In and Out points for clip trimming
Even if you only remember the blade tool and undo, you can already start working more efficiently. Keep a cheat sheet next to you or download a shortcut overlay for your keyboard.
Step 3: Edit a Practice Video (Don’t Just Watch Tutorials)
Watching tutorial videos without applying what you learn is like reading a cookbook but never cooking. Download a free video sample from websites like pixabay or pexels, then practice:
- Importing media into the Media Pool
- Dragging clips onto your timeline
- Cutting and moving clips around
- Adding text overlays and transitions
Set yourself a mini-project. For example: create a 30-second travel montage with background music and a title screen. The small win of completing something tangible will build enthusiasm and understanding.
Step 4: Use Templates and Presets to Save Time
DaVinci Resolve supports third-party templates for titles, transitions, and effects. These templates can instantly polish your projects without needing advanced design skills. Many content creators share free packs on YouTube and sites like Motion Array or Envato Elements.
To install a title template, for example:
- Download the .settings title file
- Move it into your Titles folder in Resolve’s Effects Library
- Drag it onto your timeline
It’s that easy—and it can turn a plain video into something visually engaging with minimal effort.
Step 5: Don’t Freak Out Over the Fairlight and Fusion Tabs
Fairlight (for audio post-production) and Fusion (for compositing/VFX) are powerful, but not necessary for basic editing. You’re totally fine skipping those until later. Focus on these four tabs initially:
- Media – where you organize your video/audio assets
- Cut – your beginner-friendly editing interface
- Edit – once you grow into more detailed edits
- Deliver – to export your finished video
You’ll eventually love the advanced tabs. Just not today. One smart step at a time.

Step 6: Learn from the Right Teachers
Some tutorial creators are more geared toward professionals, and diving into their content too early can discourage beginners. Here are some popular, beginner-friendly YouTube channels:
- Casey Faris – clear, short tutorials with lots of templates
- MrAlexTech – step-by-step videos on every part of the software
- VideoRevealed – especially user-friendly for basic editing tutorials
Start a playlist of relevant tutorials and watch them in between practice sessions. Pausing and practicing as you go is essential.
Step 7: Exporting Without Tears—The “Deliver” Page
The final step of any edit is exporting your masterpiece. This happens in the Deliver page. Luckily, Resolve includes export presets for YouTube, Vimeo, and more. To export:
- Go to the Deliver page
- Select a preset like “YouTube 1080p”
- Set your filename and location
- Click “Add to Render Queue” then “Start Render”
That’s it! You’re now a video editor who can cut, refine, and publish videos with confidence.
Conclusion
DaVinci Resolve may give the initial impression of complexity, but under the hood, it’s one of the most accessible professional editing tools available today. Once you’ve taken the first steps—starting on the Cut page, learning shortcuts, editing simple videos—you’ll find that the UFO dashboard you feared is actually a streamlined, elegant creative platform. And remember, every pro editor once felt just like you do now.
Frequently Asked Questions (FAQ)
-
Is DaVinci Resolve really free?
Yes, DaVinci Resolve offers a very capable free version that includes most of the features, including color correction, multi-track editing, and full exporting options. -
What kind of computer do I need to run DaVinci Resolve?
While the software is powerful, it can run on mid-range PCs and Macs. Try to have at least 16 GB of RAM and a dedicated graphics card for smoother playback. -
Can I use DaVinci Resolve for YouTube videos?
Absolutely. In fact, it’s one of the most popular tools used by YouTubers for professional-looking results. -
How long will it take to learn the basics?
Most new users can become comfortable with basic editing, adding transitions, and exporting videos within 7–10 hours of intentional practice. -
Are there mobile or tablet versions of Resolve?
Currently, DaVinci Resolve is only available on macOS, Windows, and Linux desktop environments.


