Blurred photographs are often disappointing, especially when the image is a once-in-a-lifetime portrait, a landscape captured during travel, or an old family photo that cannot be retaken. Modern unblur image software can help recover visible detail, improve sharpness, and make photos more usable for printing, archiving, or sharing. However, the best results come from understanding what these tools can realistically fix and how to apply them carefully.
TLDR: Unblur image software can improve portraits, landscapes, and old photos by reducing motion blur, correcting soft focus, and enhancing fine detail. It is most effective when the original image still contains enough visual information to recover. For important or sentimental photos, use non-destructive editing, avoid excessive sharpening, and compare results at full size before saving. No software can perfectly restore every blurred image, but the right tool and workflow can produce a meaningful improvement.
What Unblur Image Software Actually Does
Unblur software uses a combination of image processing techniques to make a soft or blurred photo appear sharper. Traditional tools rely on methods such as sharpening, contrast enhancement, edge detection, and noise reduction. More advanced applications use artificial intelligence to estimate missing detail and rebuild edges, textures, and facial features.
It is important to distinguish between true restoration and visual enhancement. A program cannot recover information that was never captured by the camera, but it can often clarify existing details and make an image appear more defined. This is particularly useful for mild camera shake, slightly missed focus, low-resolution scans, and aging photo prints.
Common types of blur include:
- Motion blur: Caused by camera movement or a moving subject during exposure.
- Focus blur: Occurs when the camera focuses in front of or behind the subject.
- Lens softness: A general lack of sharpness caused by older lenses, low-quality optics, or wide apertures.
- Scan blur: Often found in digitized old photos, especially if the print was not flat or the scanner settings were poor.
Unblurring Portraits: Preserving Natural Detail
Portraits require a careful approach because viewers are highly sensitive to unnatural changes in faces. Good unblur software for portraits should enhance eyes, eyelashes, hair, and facial contours without creating harsh skin texture or artificial artifacts. Over-sharpened portraits can look gritty, aged, or unrealistic.
When working with portraits, start by applying sharpening selectively. The eyes, eyebrows, lips, and hair usually benefit from added definition, while skin often needs a lighter touch. Many editors allow masking, which lets you apply stronger correction to important details while protecting smoother areas.
AI-based portrait enhancement can be useful when the image is slightly out of focus or low resolution. These systems may reconstruct facial features convincingly, but they should be used cautiously for documentary, legal, or historical photos. If accuracy matters, avoid tools that significantly reinterpret the face. For personal images, a tasteful enhancement may be acceptable, but it is still wise to keep the original file unchanged.
Unblurring Landscapes: Recovering Texture and Depth
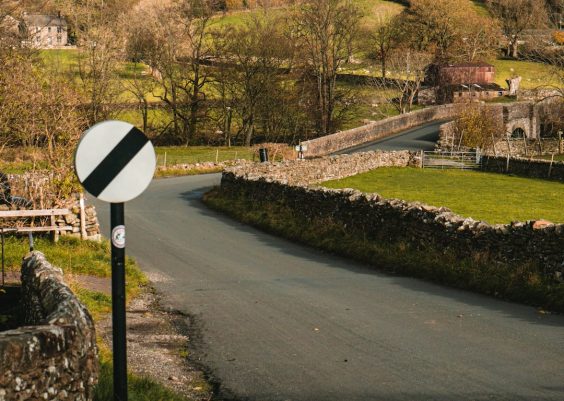
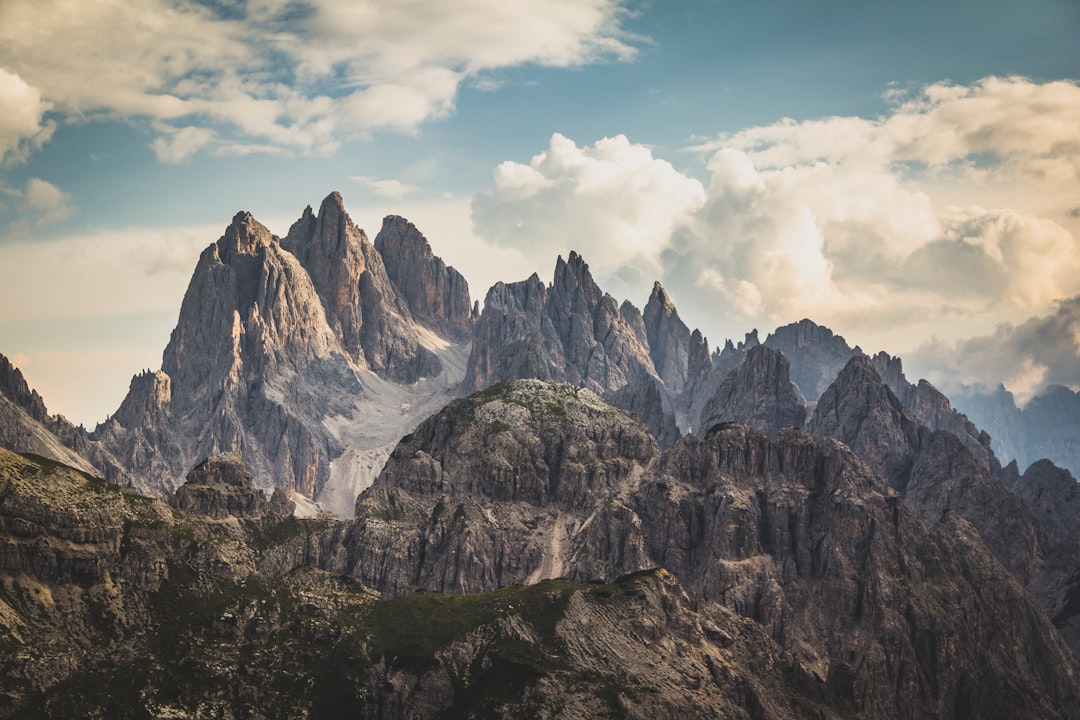
Landscapes present different challenges. Instead of faces, the key details are often trees, rocks, clouds, buildings, water, and distant horizons. Blur in a landscape can flatten the scene and reduce the sense of depth. Effective unblur software improves edge clarity and local contrast so that the landscape regains structure.
For landscapes, sharpening can often be applied more broadly than in portraits, but moderation remains essential. Excessive sharpening may create halos around mountains, rooftops, branches, or the horizon line. These bright or dark outlines are a common sign of overprocessing and can make the image look less professional.
Landscape photos also frequently contain haze, noise, or low-light softness. In these cases, combine unblurring with noise reduction, dehazing, and contrast adjustment. The order matters: reducing noise before sharpening usually gives a cleaner result, because sharpening can otherwise intensify grain and digital artifacts.
Restoring Old Photos: A Balanced Workflow
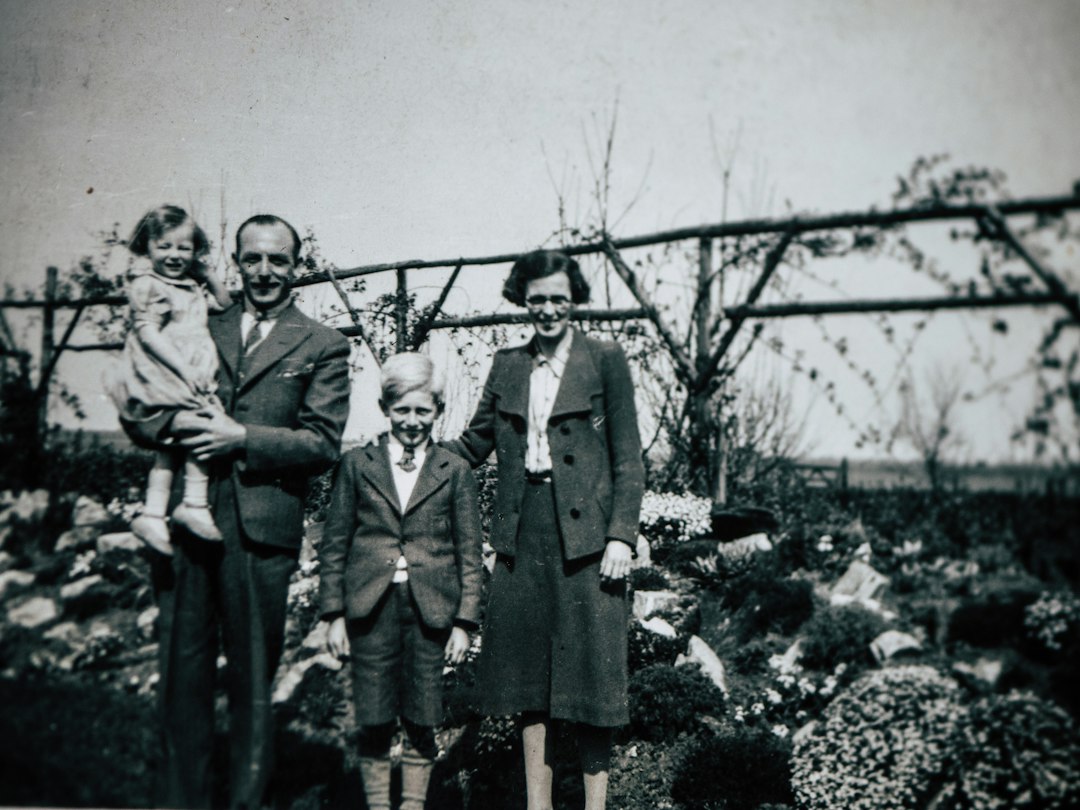
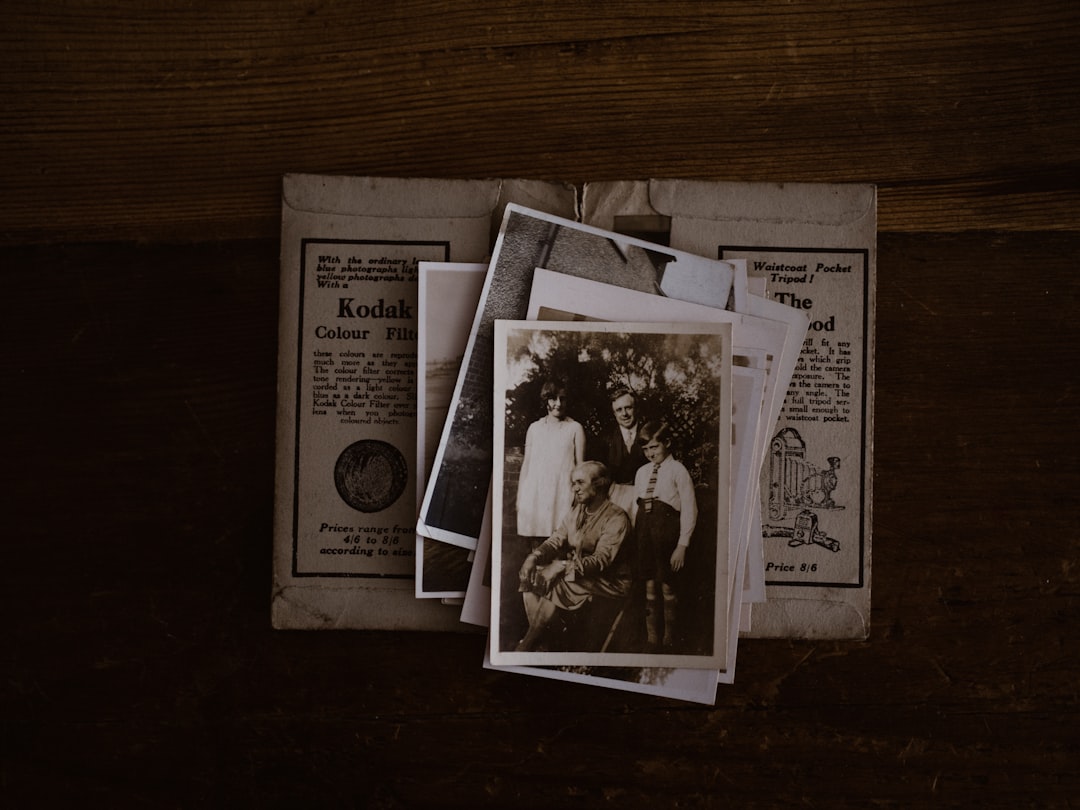
Old photos are among the most valuable candidates for unblur software. Family portraits, wedding pictures, military photographs, and historical images often exist only as fragile prints. When these images are scanned, they may show blur, fading, scratches, dust, stains, and paper texture.
The best workflow begins with a high-quality scan. If possible, scan the photo at 600 dpi or higher for small prints and use a clean scanner glass. Save the scan in a lossless format such as TIFF or a high-quality PNG before editing. Starting with a better file gives the software more information to work with.
For old photos, use unblur tools in combination with restoration features. A practical sequence may include:
- Clean the scan: Remove dust, scratches, and spots before sharpening.
- Adjust exposure: Correct fading, low contrast, and uneven tones.
- Apply controlled unblur: Improve edges and facial detail gradually.
- Reduce noise and grain: Keep natural film texture while removing distracting artifacts.
- Export carefully: Save a restored copy while preserving the original scan.
Old photographs should not always look modern. A serious restoration respects the age and character of the image. The goal is to improve readability and emotional impact, not to erase every sign of time.
Key Features to Look For
When choosing unblur image software, focus less on marketing claims and more on practical controls. A reliable tool should provide both automatic enhancement and manual adjustment. Full automation can be convenient, but manual control is essential for avoiding unnatural results.
Useful features include:
- AI deblurring: Helpful for mild motion blur and soft focus.
- Selective sharpening: Allows different treatment for faces, backgrounds, and fine details.
- Noise reduction: Prevents grain and artifacts from becoming more visible.
- Preview comparison: Lets you compare before and after at 100 percent zoom.
- Batch processing: Useful for large archives, though individual review is still recommended.
- Non-destructive editing: Keeps the original image safe while you experiment.
For professional or archival work, color management and high-bit-depth support are also valuable. These features help preserve tonal quality, especially when restoring old prints or preparing images for large-format printing.
Limits and Risks of Unblur Tools
Even the best software has limits. Severe blur, extreme motion streaks, very low resolution, and heavy compression damage may not be fully repairable. AI tools can sometimes generate plausible detail that was not truly present in the original image. This may be acceptable for creative use, but it can be problematic for evidence, journalism, genealogy, or historical documentation.
Another common risk is overcorrection. A photo that looks sharp on a phone screen may look harsh or artificial on a monitor or in print. Always inspect the image at full size and, if possible, make a test print before finalizing important work.
Best Practices for Reliable Results
To achieve dependable outcomes, work from the highest-quality source available. Avoid repeatedly saving JPEG files during editing, because each save can introduce additional compression. Make adjustments in small increments and compare the result with the original regularly.
For portraits, prioritize natural facial appearance. For landscapes, watch for halos and noisy textures. For old photos, preserve authenticity and avoid turning a historical image into something that looks artificially modern. In all cases, keep an untouched original and save edited versions separately.
Conclusion
Unblur image software can be a valuable tool for improving portraits, landscapes, and old photos, but it works best when used with realistic expectations and careful judgment. The strongest results usually come from combining deblurring with thoughtful exposure correction, noise control, and selective sharpening. Whether you are restoring a family archive or improving travel photography, a disciplined workflow will produce images that are clearer, more respectful of the original, and more visually convincing.