An edge filter is one of those photo editing tools that looks simple at first but can completely change the mood, structure, and style of an image. Instead of focusing on color, brightness, or texture, it detects the boundaries between shapes and tones, turning outlines into the main visual element. Used with care, an edge filter can help photographers, illustrators, designers, and hobbyists create everything from subtle sharpening effects to bold graphic artwork.
TLDR: An edge filter finds and emphasizes the outlines in an image, making shapes, objects, and details stand out. It can be used for dramatic black and white art, comic style illustrations, glowing neon effects, technical sketches, and mixed media projects. The best results usually come from combining edge filters with layers, masks, blending modes, and thoughtful color adjustments.
What Is an Edge Filter?
An edge filter is a digital effect that identifies areas of contrast in an image. Wherever light meets dark, one color meets another, or one object separates from the background, the filter creates or enhances a line. These lines can appear sharp, soft, dark, bright, colorful, or even glowing depending on the settings and the editing software being used.
In technical terms, edge filters are often based on edge detection, a process used in image processing and computer vision. But in creative editing, you do not need to understand the mathematics behind it. What matters is the visual effect: the filter translates visual information into contours, making the image feel more drawn, etched, scanned, or stylized.
Why Edge Filters Are So Useful
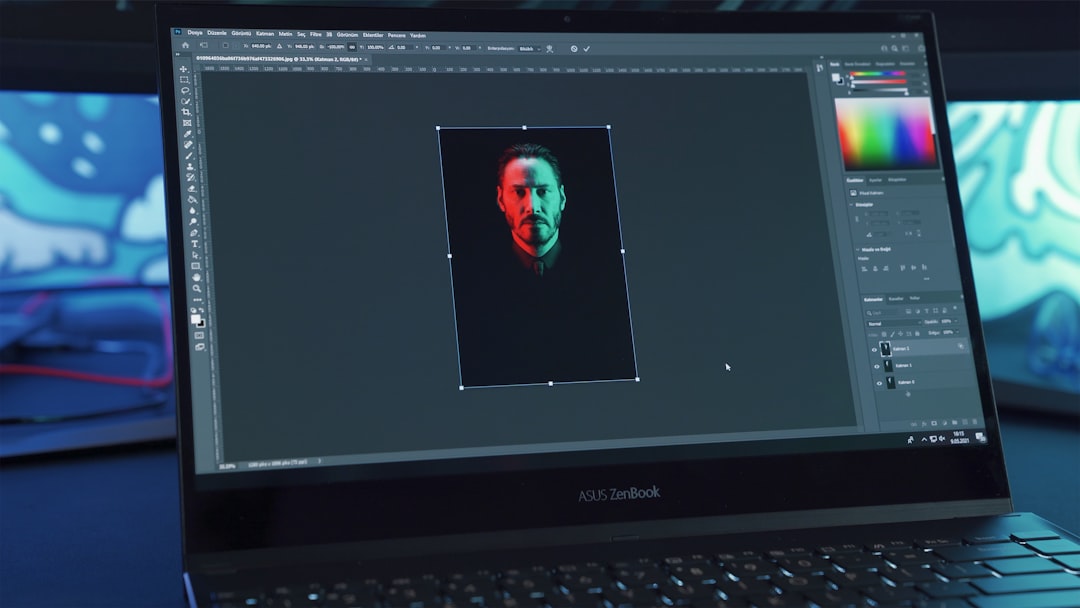
The real strength of an edge filter is that it can shift attention from surface detail to structure. A normal photo may be full of colors, lighting effects, shadows, and textures. An edge filtered version simplifies the image and highlights its composition. This can help reveal the underlying rhythm of a face, building, landscape, product, or object.
Artists often use edge filters as a starting point rather than a final effect. For example, a photographer may create an edge layer, lower its opacity, and blend it with the original picture to add definition. An illustrator may use the filtered result as a rough guide for line art. A designer may convert the outlines into a graphic background or poster element.
Popular Creative Uses for Photo Editing
Edge filters can be used in many ways, from subtle enhancements to highly experimental compositions. Here are some of the most effective approaches:
- Enhancing detail: Applied lightly, an edge filter can make architectural lines, hair, fabric, leaves, or product edges appear more defined.
- Creating sketch effects: When combined with desaturation and contrast adjustments, edge filters can make a photo look like a pencil, ink, or charcoal drawing.
- Adding drama: Bold edges can give portraits a gritty, cinematic, or editorial feeling, especially in black and white.
- Producing abstract art: Strong edge detection can break a photo into strange patterns, creating unexpected textures and visual rhythms.
- Improving composites: Edge layers can help blended images feel more unified by giving different elements a shared graphic treatment.
One simple technique is to duplicate your image layer, apply an edge filter to the duplicate, then set that layer to a blending mode such as Multiply, Overlay, or Screen. Lowering the opacity gives you control over how much of the effect appears. This approach is especially useful because the original photo remains intact underneath.
Using Edge Filters for Illustration
For illustrators, edge filters can act like a shortcut to structure. They can reveal the strongest outlines in a reference photo, making it easier to trace, paint, or reinterpret the image. This does not replace drawing skill, but it can speed up the early stages of a project and help identify important shapes.
For example, if you are creating a stylized portrait, an edge filter can show the contours of the eyes, nose, mouth, jawline, and hair. You can then place that result on a separate layer and draw over it manually. The final illustration may look completely hand made, but the edge filter helps establish proportion and placement.
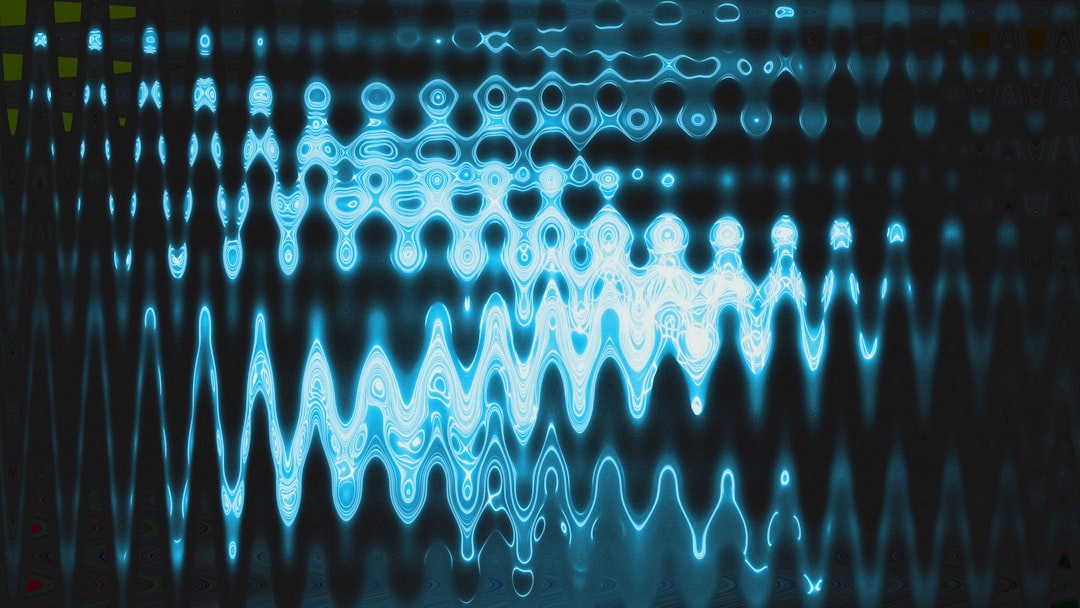
In digital painting, edge filters are also useful for adding final accents. After finishing a painting, you can apply an edge effect to a flattened copy, adjust the colors, and blend it back into the artwork. This can add crispness to areas that need emphasis, such as armor, jewelry, city lights, machinery, or facial features.
Stylish Effects You Can Try
Edge filters become far more interesting when combined with other edits. Instead of accepting the default result, treat the filter as one ingredient in a visual recipe.
- Neon outline effect: Apply an edge filter, invert the colors if needed, tint the lines with electric blue, pink, green, or purple, then place them over a dark background. Add a soft glow for a futuristic look.
- Comic book treatment: Combine thick edge lines with posterized colors, halftone dots, and high contrast shadows. This works well for portraits, action shots, and urban scenes.
- Blueprint or technical drawing: Use white or cyan outlines on a deep blue background. Architectural photos, vehicles, gadgets, and interiors are perfect subjects.
- Vintage engraving style: Convert the image to black and white, increase contrast, and use fine edge lines to imitate old printed illustrations or etched plates.
- Dreamy mixed media: Use soft edge lines over watercolor textures, paper backgrounds, or blurred color fields for a handmade collage effect.
Tips for Better Results
Although edge filters are easy to apply, they can quickly become messy. Too many lines may distract from the subject, especially in busy images with lots of texture. The key is to guide the viewer’s eye, not overwhelm it.
- Start with a strong image: Photos with clear subjects and good contrast usually produce cleaner edge effects.
- Adjust contrast first: Increasing or reducing contrast before applying the filter changes which edges are detected.
- Use masks: Apply the effect only where it helps, such as around the face, hands, object outline, or main focal point.
- Control line thickness: Thin lines feel delicate and technical, while thick lines feel bold, graphic, and poster like.
- Experiment with color: Edge lines do not have to be black or white. Colored outlines can create mood and energy.
It is also worth trying the filter on unexpected images. A landscape may become a topographic pattern. A close up of flowers may turn into a decorative textile design. A night street scene may become a network of glowing signs, windows, and reflections. The more you experiment, the more you will see edge filters as creative tools rather than one click effects.
Common Mistakes to Avoid
The most common mistake is using the edge filter at full strength and leaving it there. This can make an image look harsh, noisy, or overly processed. Instead, use opacity, blur, masks, and blending modes to refine the result.
Another mistake is applying the same settings to every image. A portrait, a forest, a product photo, and a building all need different treatment. Fine facial details may require softer settings, while architecture can handle stronger, sharper lines. Always adjust the effect to suit the subject and the intended style.
Final Thoughts
An edge filter is more than a novelty effect. It is a versatile creative tool that can clarify form, add energy, suggest hand drawn line work, or transform a photo into something graphic and unexpected. Whether you are editing portraits, designing posters, preparing illustration references, or experimenting with abstract visuals, edge filters offer a fast way to rethink an image through its outlines.
The best approach is to use them with intention. Let the filter support your composition, mood, and message. When combined with thoughtful editing, an edge filter can turn ordinary details into expressive lines and help your images feel sharper, stranger, and more memorable.