Update PHP safely by testing the new version on a staging copy, fixing conflicts, backing up everything, then switching production during a quiet traffic window. Do not click the PHP version selector and hope for the best. WordPress can handle modern PHP well, but old plugins, abandoned themes, and custom code can turn a simple upgrade into a white screen.
TL;DR: Before updating PHP in WordPress, make a full backup, create a staging site, scan for plugin and theme issues, then test the upgrade there first. For example, a WooCommerce store with 42 plugins might find that only 2 plugins block the move from PHP 7.4 to 8.2. Fixing those on staging could save hours of downtime and lost orders. If anything breaks, roll back the PHP version and restore the backup.
Why Updating PHP Matters
PHP is the programming language that powers WordPress. When your server runs an old PHP version, your site can become slower, less secure, and harder to maintain. A newer PHP version often brings better performance, security patches, and cleaner support for current WordPress releases.
Security is the big one. Unsupported PHP versions no longer receive official security fixes. That means known flaws may stay open. Hackers love that. Site owners do not.
Speed is another reason. Many sites see faster response times after moving from PHP 7.4 to PHP 8.1 or 8.2. Not always dramatic, but even a 10% improvement can help if your site gets regular traffic or runs heavy plugins.
Step 1: Check Your Current PHP Version
Start by finding out what version your site uses now. In WordPress, go to Tools > Site Health > Info > Server. Look for the PHP version line.
You can also check inside your hosting control panel. Many hosts show it under sections called PHP Manager, MultiPHP Manager, Server Settings, or Software.
If your site still runs PHP 7.4 or older, plan an update soon. PHP 8.1, 8.2, or 8.3 may be available from your host. Do not jump to the newest option without checking compatibility first. Honestly, it feels like some hosting panels make this too easy. One click can change the whole server environment before you have tested a single form.
Step 2: Update WordPress Core, Themes, and Plugins First
Before touching PHP, update everything inside WordPress. That means:
- WordPress core
- Active theme
- Parent theme, if you use a child theme
- All active plugins
- Must use plugins, if your host or developer added them
Developers often add PHP 8 compatibility in plugin updates. If you try to upgrade PHP while running old plugin versions, you may hit errors that were already fixed months ago.
Delete unused plugins and themes too. Inactive code can still become a risk, and it adds clutter when you are trying to troubleshoot. Keep one default WordPress theme, such as Twenty Twenty Four, as a fallback.
Step 3: Make a Full Backup
Do not skip this. A full backup must include both files and the database. Your files store themes, plugins, uploads, and WordPress core. Your database stores posts, pages, settings, orders, users, menus, and plugin data.
Use your host’s backup tool, a trusted backup plugin, or both. Better yet, download a copy outside the server. A backup stored only on the same hosting account is less helpful if the account has a wider problem.
Your backup checklist should include:
- WordPress files
- Database export
- Uploads folder
- Theme files
- Plugin files
- Custom code snippets
- Configuration files, including wp config php
Expect to waste time if you only back up “most” of the site. The missing part is often the part you need at 11:30 p.m.
Step 4: Create a Staging Site
A staging site is a private copy of your live site. You use it to test changes without affecting visitors. Many managed WordPress hosts offer one click staging. If yours does not, you can use a staging plugin or create a copy on a subdomain.
Once staging is ready, confirm it matches the live site. Check the homepage, login page, shop pages, contact forms, and admin area. If the staging copy is broken before the PHP update, fix that first. Otherwise, you will blame PHP for a problem that already existed.
Step 5: Run a Compatibility Check
Several tools can scan themes and plugins for code that may fail on newer PHP versions. These scanners are useful, but not perfect. They may miss runtime errors that only appear when a visitor submits a form, completes checkout, or uses a search filter.
Check plugin pages in the WordPress directory or vendor websites. Look for notes about PHP 8 compatibility. If a plugin has not been updated in two or three years, be careful. Old payment plugins, page builders, membership systems, and custom booking tools are common trouble spots.
If you have custom code, ask a developer to review it. Small snippets in functions php can break a site if they use outdated PHP syntax.
Step 6: Change PHP on Staging First
Now switch the staging site to the target PHP version. Start with the highest version your plugins and host clearly support. For many sites, PHP 8.1 or 8.2 is a stable choice. PHP 8.3 is fine if your stack supports it.
After changing the version, clear all caches. That includes:
- WordPress cache plugins
- Server cache
- CDN cache
- Object cache, such as Redis or Memcached
- Browser cache when testing
Then browse the staging site like a real user. Do not only test the homepage. Visit key pages, submit forms, log in, search the site, add items to cart, place a test order, open account pages, and check admin screens.
Step 7: Turn On Debugging if Something Breaks
If the staging site shows a blank screen or critical error, turn on WordPress debugging. Add or update these lines in wp config php:
define('WP_DEBUG', true);
define('WP_DEBUG_LOG', true);
define('WP_DEBUG_DISPLAY', false);
This writes errors to the debug log without showing them to visitors. The log often points to the exact plugin, theme file, or function causing trouble.
Common errors include deprecated functions, missing extensions, old constructors, and strict type issues. If the error names a plugin, update it, replace it, or contact the developer. If the error comes from the theme, switch to a default theme on staging and test again.
Step 8: Confirm Required PHP Extensions
WordPress and plugins may need PHP extensions such as curl, mbstring, imagick, intl, zip, xml, and mysqli. Some hosts enable different extensions for different PHP versions. That is annoying, but common.
If images stop regenerating, imports fail, or API calls time out after the change, a missing extension may be the reason. Ask your host to match the extensions used on the earlier PHP version.
Step 9: Update the Live Site
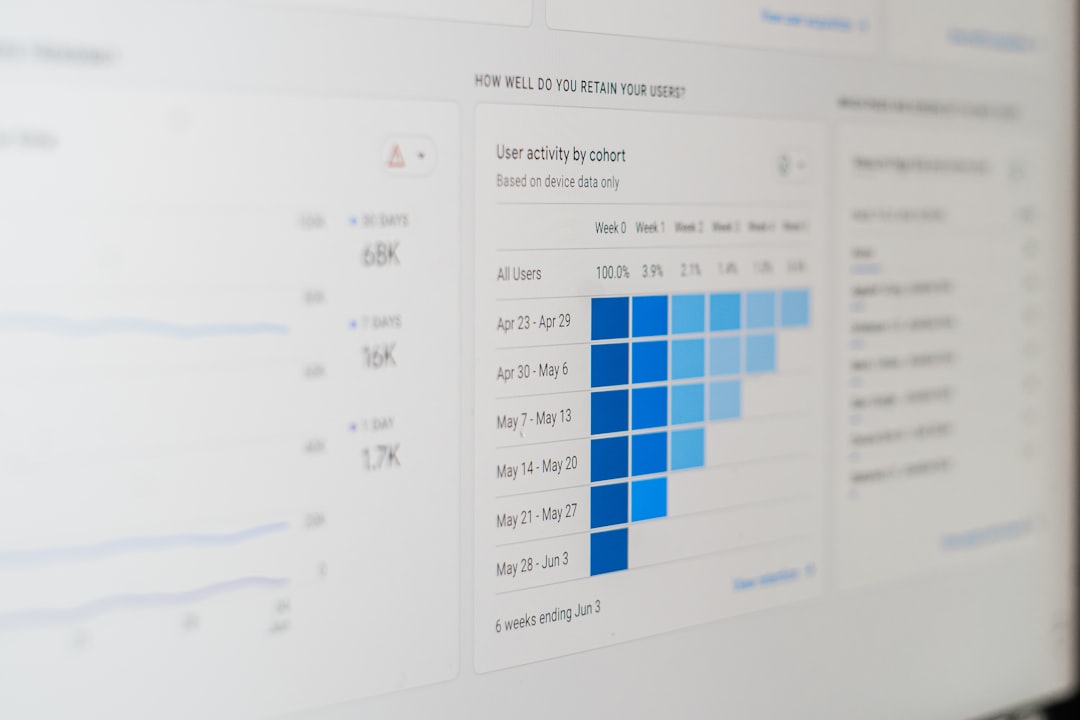
Once staging works, schedule the live update. Choose a low traffic time. For a business site, that may be late evening. For a store, check your analytics first. Pick the hour with the fewest active users and orders.
Before switching live PHP, make one fresh backup. Then change the PHP version in your hosting panel. Clear caches again. Test the site right away.
Use this quick live test list:
- Homepage loads correctly
- Admin login works
- Contact forms send messages
- Checkout works, if applicable
- Search works
- Images load
- Menus and popups behave correctly
- No critical errors appear in Site Health
Step 10: Keep a Rollback Plan Ready
A safe PHP update always includes a way back. Most hosts let you select the previous PHP version from the same panel. If the site fails badly, switch back first. Then restore files or database only if needed.
Do not troubleshoot a broken live site for an hour while customers stare at errors. Roll back, breathe, and fix the issue on staging. Your visitors do not need to watch the repair work.
After the Update
Monitor the site for at least 24 to 48 hours. Check error logs, form submissions, transactions, scheduled tasks, backups, and email delivery. Some bugs only appear during cron jobs, renewals, imports, or nightly syncs.
Also test performance. Use tools such as PageSpeed Insights, GTmetrix, WebPageTest, or your host’s monitoring panel. Compare server response time before and after. If performance drops, review caching, PHP workers, memory limits, and plugin behavior.
Final Checklist
- Check current PHP version
- Update WordPress, plugins, and themes
- Remove unused code
- Make a full backup
- Create and verify staging
- Test the new PHP version on staging
- Fix errors before touching live
- Update live during quiet hours
- Clear caches and test key actions
- Keep rollback ready
Updating PHP in WordPress is not scary when you treat it like maintenance, not a gamble. Test first, back up twice, update carefully, and keep the old PHP version nearby until you are sure everything works.