
In the age of data-driven marketing, the ability to collect and analyze visitor behavior on your website is more important than ever. If you’re using the Divi theme on WordPress and Google Analytics 4 (GA4) as your measurement tool, you’re already on the right track. However, installing GA4 on a Divi-powered website can be a bit tricky for beginners. Thankfully, there are multiple ways to connect GA4 to your site—each with varying degrees of simplicity and control. In this article, we’ll walk you through three easy installation methods: direct code insertion, using a plugin, and integrating through Google Tag Manager (GTM).
Why You Need GA4 on Your Divi Website
Google Analytics 4 (GA4) is the latest version of Google’s website tracking tool, replacing Universal Analytics. It offers a more comprehensive understanding of user behavior by enabling cross-platform tracking, improved event-based data collection, and deeper integration with Google Ads.
Divi, developed by Elegant Themes, is a versatile and user-friendly WordPress theme featuring a powerful drag-and-drop builder. While Divi simplifies website design, it lacks built-in analytics tools. That’s why integrating GA4 is crucial. Once properly integrated, you’ll gain access to valuable insights on visitor demographics, behaviors, conversions, and more.
Method 1: Installing GA4 in Divi Using Direct Code
This method is for users who prefer a hands-on approach and want minimal dependency on third-party plugins. It involves copying and pasting your GA4 tracking code into the right section of your website.
Steps:
- Login to your Google Analytics account and create a GA4 property if you haven’t already.
- Navigate to Admin > Data Streams > Web and select your website.
- Under the Tagging Instructions, copy the Global Site Tag (gtag.js).
- Go to your WordPress Dashboard and navigate to Divi > Theme Options > Integration.
- Paste the gtag.js code into the box labeled “Add code to the <head> of your blog”.
- Click Save Changes.
This method is fast and doesn’t require any additional plugins. However, it’s a bit rigid, and any updates to your tracking—like event tagging—must be done manually in code.
Method 2: Using a WordPress Plugin
If you’re not comfortable editing code or want more functionality, using a plugin is perhaps the easiest way to add GA4 to your Divi site.
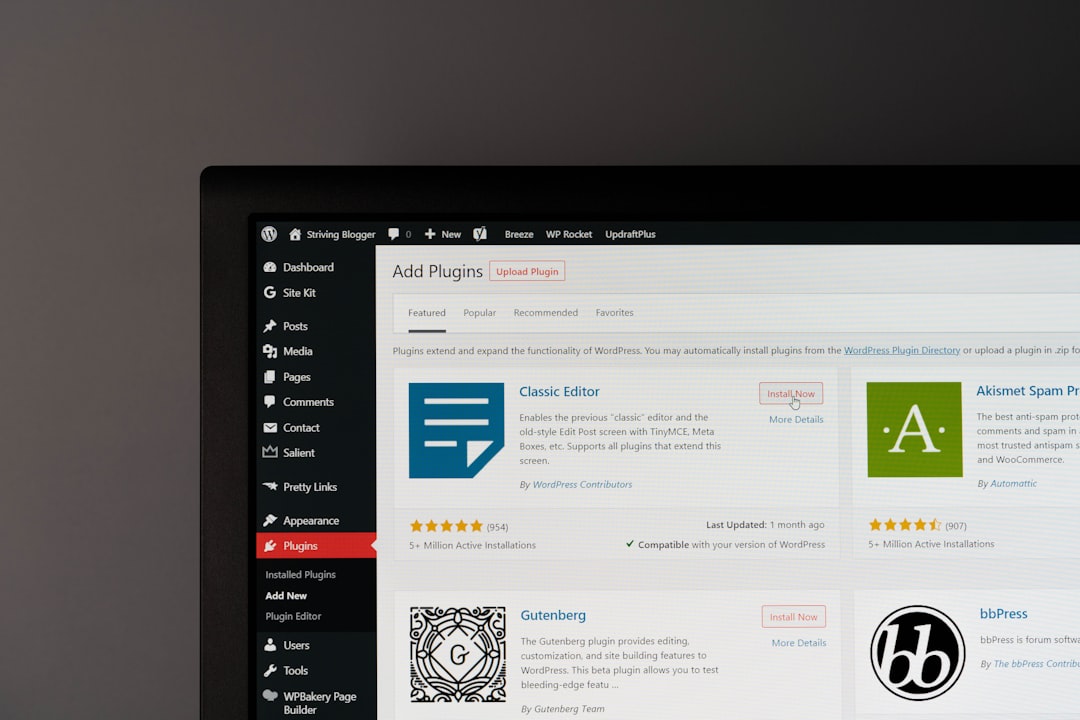
Recommended Plugin: Site Kit by Google
Site Kit is an official Google plugin that integrates GA4 along with other Google services like Search Console, AdSense, and PageSpeed Insights. It offers a streamlined setup process and real-time analytics right inside your WordPress dashboard.
Steps:
- Go to Plugins > Add New in your WordPress Dashboard.
- Search for “Site Kit by Google” and click Install.
- Click Activate.
- Follow the guided setup, which includes signing in with your Google account and linking to your GA4 property.
Once connected, Site Kit will handle all code insertion and keep your GA4 initialized on every page. It’s perfect for beginners and provides reliable ongoing tracking.
Alternative Plugins:
- GA Google Analytics – Lightweight for essential tracking.
- MonsterInsights – Offers detailed reports within WordPress, ideal for e-commerce.
Keep in mind that plugin-based solutions can impact performance slightly and may introduce compatibility issues, although they’re usually minor for small to medium-sized websites.
Method 3: Google Tag Manager (Advanced Flexibility)
Google Tag Manager (GTM) is a powerful tool that allows you to manage code snippets, or “tags,” from a centralized dashboard. If you plan to scale your tracking efforts—say by adding Facebook Pixel, Hotjar, or custom events—then GTM is your best option.
Steps to Set Up GTM on Divi:
- Visit tagmanager.google.com and create an account and container for your website.
- Once the container is created, you’ll receive two code snippets: one for the
<head>and one just after the opening<body>. - Log in to your WordPress Dashboard and go to Divi > Theme Options > Integration.
- Paste the head code in the “Add code to the <head> of your blog” box.
- Paste the body code in the “Add code to the <body> (good for tracking codes such as Google Analytics)” box.
- Save changes.
Once you’ve added GTM to your site, you’re ready to create a GA4 configuration tag within Tag Manager.
Set Up GA4 in GTM:
- Go to your GTM dashboard and click Add a New Tag.
- Choose Tag Type: GA4 Configuration.
- Enter your Measurement ID (looks like
G-XXXXXXX). - Set the trigger to All Pages.
- Save and submit your container.
This method offers the highest level of customization. You can set up scroll depth, form submissions, click tracking, and even advanced e-commerce analytics—all without touching your website code again.
Pros of Using GTM:
- One-time setup for unlimited tracking scripts.
- Cleaner website code.
- Version control and built-in debugger.
However, beginners might find the Tag Manager interface more complex than necessary for a small site.
How to Verify GA4 Is Working
No matter which method you choose, it’s essential to ensure that your GA4 setup is functioning correctly. Here’s how to test:
- Open your website in a new tab or browser window.
- Go to your GA4 Property > Reports > Real-Time.
- You should see your visit reflected in near real-time.
You can also use tools like Google Tag Assistant or Chrome DevTools to verify that the tracking code or GTM container has successfully loaded.
Which Method Should You Choose?
It largely depends on your skill level and future needs:
- Direct Code – Best for developers or simple sites with minimal tracking needs.
- Plugin – Perfect for beginners or those who want a quick, no-code solution.
- GTM – Ideal for marketers or developers setting up complex tracking systems.

Conclusion
Adding GA4 to your Divi website doesn’t have to be overwhelming. Whether you choose to insert the tracking code directly, use a reliable plugin like Site Kit, or go all-in with Google Tag Manager, there’s a method to suit your experience level and business goals.
Each of these options will provide you with the data needed to make smarter decisions, optimize your user experience, and ultimately drive better results. Take the method that aligns best with your workflow—and start unlocking your website’s full potential today.


)