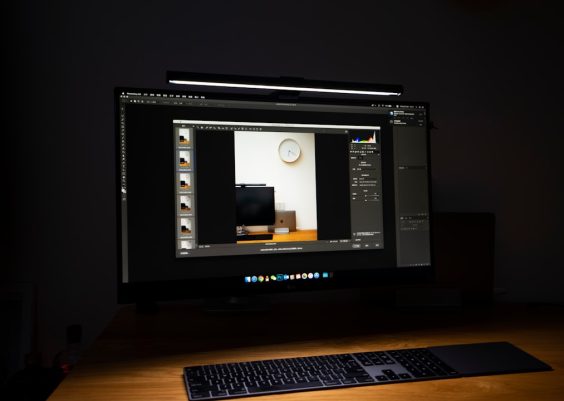
Some images become more powerful when they lose their shades of gray. A threshold filter turns a photo, scan, drawing, or texture into a stark black-and-white image by forcing every pixel to choose one side: black or white. The result can look graphic, gritty, elegant, vintage, dramatic, or experimental depending on the source image and the settings you use.
TLDR: A threshold filter converts an image into pure black and white by setting a brightness cutoff point. Pixels lighter than the threshold become white, while darker pixels become black. It is useful for creating high-contrast portraits, poster-style artwork, stencil designs, logos, textures, and screen-print effects. The best results usually come from preparing the image first, adjusting the threshold carefully, and refining the final shapes afterward.
What Is a Threshold Filter?
A threshold filter is an image adjustment that removes all midtones from a picture. Instead of displaying a full range of colors or grayscale values, it reduces the image to only two tones: black and white. The filter works by analyzing the brightness of each pixel and comparing it to a chosen threshold level.
For example, imagine a brightness scale from 0 to 255, where 0 is pure black and 255 is pure white. If you set the threshold at 128, every pixel darker than 128 becomes black, and every pixel brighter than 128 becomes white. By moving the threshold higher or lower, you decide how much of the image becomes black and how much becomes white.
This simple idea creates a surprisingly wide range of visual effects. A low threshold may leave only the deepest shadows black, producing a light, airy result. A high threshold may flood the image with black, creating a heavy, dramatic silhouette. The magic is in finding the balance where the subject remains recognizable while the image gains a bold graphic style.

Why Use a Threshold Filter?
The threshold effect is popular because it instantly makes images feel more designed. It strips away subtle detail and emphasizes shape, contrast, and composition. This makes it especially useful when you want an image to feel less like a photograph and more like an illustration, symbol, or print.
Common uses include:
- Poster art: Create bold, high-impact visuals inspired by screen printing or punk flyers.
- Stencil designs: Simplify photos into shapes that can be cut, painted, or transferred.
- Logo and icon concepts: Reduce complex images into clear black-and-white forms.
- Comics and zines: Produce gritty textures and photocopy-style artwork.
- Engraving or etching preparation: Convert images into simplified tonal maps.
- Typography backgrounds: Build dramatic image textures behind letters or layouts.
Because it creates such intense contrast, threshold filtering can also reveal the structure of an image. It makes you notice whether a photo has strong lighting, clear silhouettes, and readable shapes. If an image works well as a threshold design, it usually has a strong composition underneath.
How the Threshold Filter Works
At its core, the threshold filter is a decision-making tool. It asks a simple question about every pixel: Is this pixel brighter or darker than the chosen cutoff? The answer determines the final color of that pixel.
Most editing programs provide a slider for this value. As you move it, the image changes in real time. Slide the threshold to the left, and more pixels become white. Slide it to the right, and more pixels become black. This is why threshold editing often feels like sculpting light and shadow. You are not just applying a filter; you are choosing which details survive.
However, threshold conversion is unforgiving. A beautiful color photo may turn into a confusing mess if the lighting is flat or the background is too busy. Since there are no grays to separate objects gently, the image depends entirely on strong contrast and clean edges.
Choosing the Right Image
Not every image is ideal for threshold work. The best candidates have clear separation between light and dark areas. Portraits with directional lighting, architecture with strong shadows, drawings with defined lines, and objects photographed against simple backgrounds usually work well.
Look for images with:
- Strong lighting: Side lighting, backlighting, or spotlighting can create useful shapes.
- Clear subjects: The main object should stand out from the background.
- Recognizable silhouettes: If the outline is distinctive, the threshold version will be easier to read.
- Interesting texture: Hair, fabric, leaves, paper, concrete, and metal can produce striking patterns.
Images with soft, even lighting can still work, but they may need extra preparation. You may have to increase contrast, adjust exposure, darken shadows, or lighten highlights before applying the threshold effect.
Step-by-Step: Creating a High-Contrast Black-and-White Image
Although the exact controls vary between editing programs, the basic process is the same. Here is a practical workflow you can follow:
- Start with a strong source image. Choose a photo or graphic with obvious contrast and a clear subject.
- Convert to grayscale if needed. While threshold can often be applied to color images, working in grayscale makes brightness relationships easier to understand.
- Adjust contrast first. Use brightness, contrast, levels, or curves to deepen shadows and brighten highlights. This gives the threshold filter more defined information to work with.
- Apply the threshold filter. Move the slider slowly and watch how details appear and disappear.
- Find the most readable setting. Do not simply choose the most dramatic result. Choose the version where the subject looks clear and intentional.
- Clean up unwanted areas. Remove distracting specks, fill broken shapes, or erase background noise.
- Refine the composition. Crop, rotate, or reposition the image so the final design feels balanced.
A useful trick is to duplicate your image before applying the filter. This lets you compare versions or combine different threshold settings. For instance, one threshold level may capture facial features well, while another captures clothing or background texture. By layering results carefully, you can create a richer final image while still keeping the pure black-and-white look.
Creative Tips for Better Results
Threshold images can look harsh if applied casually, but they can look sophisticated when handled with intention. The following techniques can help you control the effect:
- Blur slightly before thresholding: A small blur can smooth noisy textures and create cleaner shapes.
- Sharpen before thresholding: Sharpening can help preserve fine details such as hair, fabric, or architectural lines.
- Use curves before the filter: Curves allow more precise control over which tones become black or white.
- Invert the result: Reversing black and white can completely change the mood of the image.
- Add color afterward: A threshold image does not have to stay black and white. You can recolor the black or white areas for a poster effect.
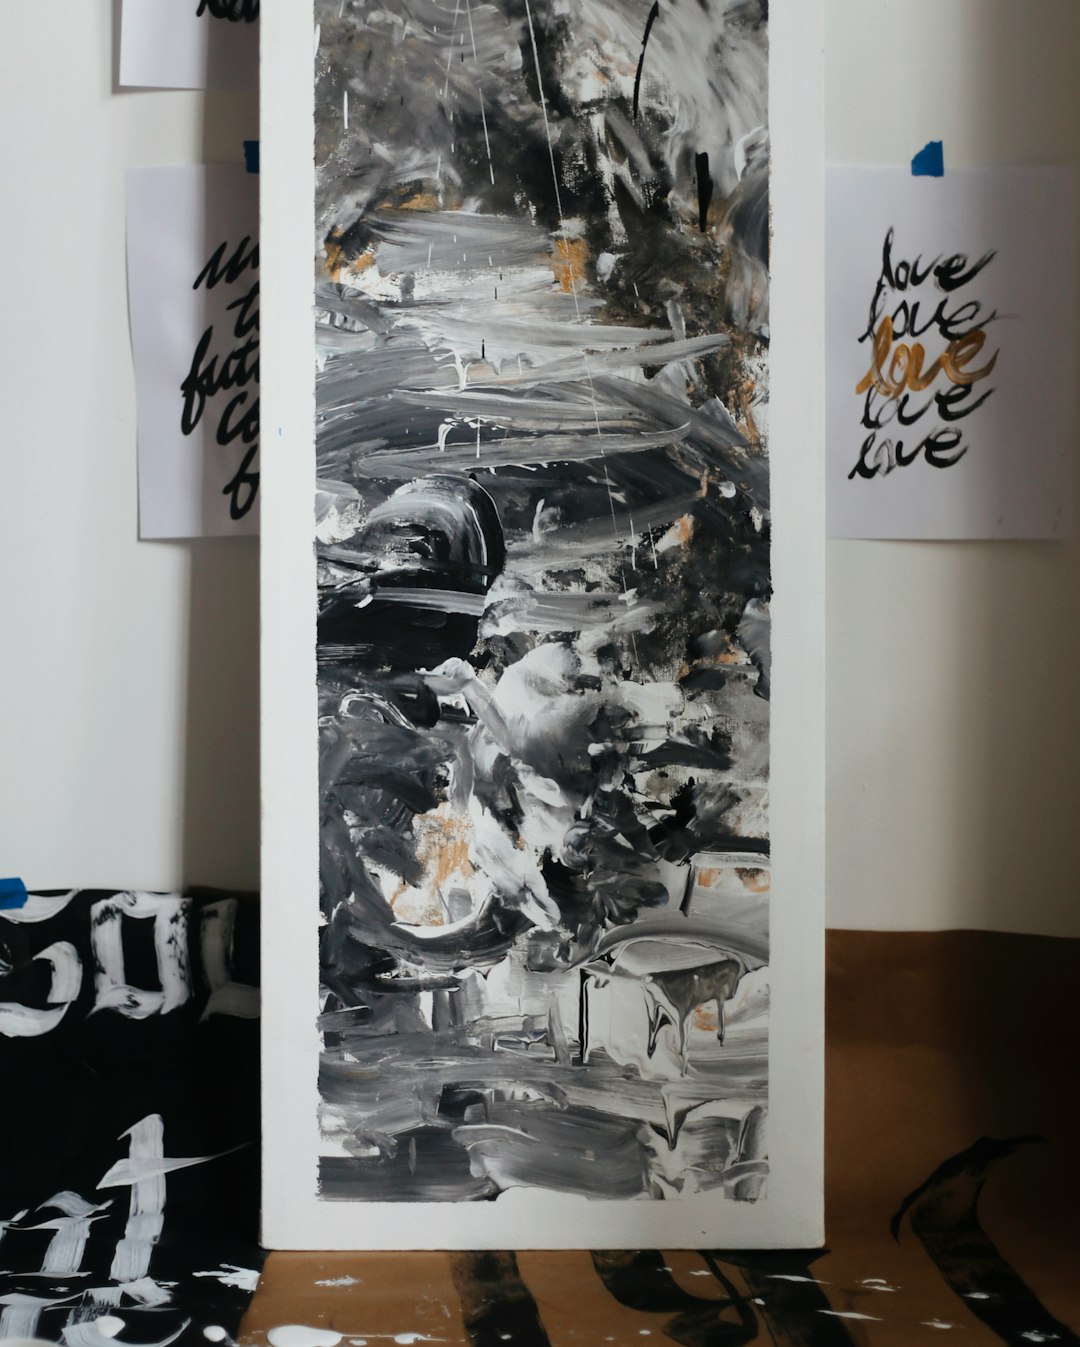
One of the most interesting uses of threshold is combining it with texture. A clean portrait can become more expressive when placed over rough paper, photocopy grain, ink splatter, or halftone dots. Because the image is already simplified, it blends easily with graphic design elements.
Common Mistakes to Avoid
The biggest mistake is pushing the threshold too far. If too much of the subject turns black, important details may vanish. If too much turns white, the image may look weak or incomplete. The goal is not always maximum contrast; it is useful contrast.
Another mistake is ignoring the background. In a normal photo, background blur or color separation may help the subject stand out. In a threshold image, those differences may disappear. A busy background can merge with the subject and create confusing shapes. When possible, simplify the background before applying the filter.
Also beware of excessive noise. Small speckles can add character, but too many random dots may distract from the design. Clean them manually or adjust the image before conversion. The best threshold images often have a balance of roughness and clarity.
When to Use Threshold Instead of Regular Black and White
A regular black-and-white adjustment keeps grayscale tones, which makes it better for realistic photos, soft portraits, and subtle lighting. A threshold filter is different because it creates a graphic interpretation rather than a natural one. Use threshold when you want an image to feel bold, simplified, printable, or symbolic.
Think of it as the difference between a photograph and a stamp. A grayscale photo can show atmosphere and depth. A threshold image shows impact and structure. Neither is better in every situation; they simply communicate differently.
Final Thoughts
The threshold filter is simple, but it rewards careful attention. By reducing an image to pure black and white, it forces you to focus on the essentials: light, shadow, outline, rhythm, and negative space. With the right source image and a few thoughtful adjustments, you can create artwork that feels bold, memorable, and visually sharp.
Whether you are designing a poster, preparing a stencil, experimenting with photo effects, or building a dramatic visual identity, threshold filtering is a powerful tool. It proves that sometimes removing detail does not make an image weaker. Sometimes, it makes the message louder.