
Few printing problems are as frustrating as seeing crisp text or a colorful photo ruined by thin white lines. These streaks can appear horizontally across a page, vertically through an image, or in repeated bands that make the whole print look unfinished. The good news is that white lines are usually caused by common issues such as clogged nozzles, low ink, dirty rollers, poor paper settings, or misaligned printheads—and most of them can be fixed at home.
TLDR: White lines when printing are most often caused by clogged ink nozzles, low toner or ink, misaligned printheads, dirty printer parts, or incorrect paper settings. Start by checking ink or toner levels, running the printer’s built-in cleaning and alignment tools, and confirming that your paper type matches the print settings. If the problem continues, clean the printhead or cartridge contacts carefully, inspect the paper path, and update your printer driver.
Why White Lines Appear on Printed Pages
White lines happen when your printer fails to place ink or toner evenly on the paper. In an inkjet printer, this usually means that some microscopic nozzles are blocked, causing missing bands in the printed image. In a laser printer, white streaks may point to uneven toner distribution, a dirty drum, or a damaged cartridge.
The pattern of the lines can tell you a lot. Horizontal white lines often indicate clogged inkjet nozzles or paper feed issues. Vertical white lines are more common with laser printers and may suggest a dirty scanner glass, drum unit, or toner cartridge problem. Repeating white bands can also mean that a roller or drum has a defect in the same spot each time it rotates.

Step 1: Check Ink or Toner Levels
Before diving into deep cleaning, start with the simplest explanation: your printer may be running low on ink or toner. A cartridge can still contain enough ink to print something, but not enough to produce consistent coverage. This often creates faded areas, white gaps, or patchy images.
- For inkjet printers: Open your printer software or control panel and check ink levels. Replace any cartridges that are empty or nearly empty.
- For laser printers: Remove the toner cartridge and gently rock it from side to side. This can redistribute toner and temporarily reduce white streaks.
- Avoid printing too long with low supplies: Running a printer on nearly empty cartridges can worsen print quality and, in some cases, stress the printhead.
If you recently replaced a cartridge, make sure it is seated correctly. Remove it, check for protective tape or plastic seals, and reinstall it firmly. Many white-line problems begin with a cartridge that was not fully clicked into place.
Step 2: Run a Nozzle Check or Print Quality Test
Most printers include a built-in diagnostic page that helps identify the problem. On inkjet printers, this is usually called a nozzle check, print quality report, or test pattern. It prints a grid or series of colored blocks that clearly show whether specific nozzles are missing ink.
If you see broken lines, missing color segments, or gaps in the test pattern, the printhead likely needs cleaning. If the test page looks perfect but your documents still have white streaks, the issue may be with the file, paper settings, driver, or paper feed system.
- Open your printer’s control panel or printer utility on your computer.
- Find the maintenance or tools section.
- Select Nozzle Check, Print Quality Report, or a similar option.
- Review the printed pattern for gaps, streaks, or missing colors.
Step 3: Clean the Printhead
If your nozzle check shows gaps, run the printer’s automatic cleaning cycle. This forces ink through the nozzles to clear dried ink or small clogs. It is one of the most effective ways to fix white lines on inkjet prints.
However, use cleaning cycles wisely. Each cycle consumes ink, and running too many in a row can waste supplies without solving a severe clog. A good approach is to run one cleaning cycle, print another nozzle check, then repeat once or twice if you see improvement.
If the lines remain unchanged after two or three cycles, turn the printer off and let it sit for several hours or overnight. This gives dried ink time to soften. Then run another nozzle check and cleaning cycle.
Important: Never use sharp objects to scrape a printhead or nozzle area. The nozzles are extremely delicate, and physical damage can permanently ruin print quality.
Step 4: Manually Clean Cartridge Contacts and Printhead Area
Sometimes the problem is not a clogged nozzle but poor communication between the cartridge and printer. Dust, dried ink, or fingerprints on the copper contacts can interfere with ink delivery and cause missing lines.
To clean contacts safely:
- Turn off the printer and unplug it.
- Remove the ink cartridges carefully.
- Use a lint-free cloth lightly dampened with distilled water.
- Gently wipe the copper contacts on the cartridge and matching contacts inside the printer.
- Let everything dry completely before reinstalling.
For printers with removable printheads, consult the manufacturer’s instructions. Some printheads can be removed and cleaned with distilled water, while others should not be taken out at all. When in doubt, follow the official manual to avoid damage.
Image not found in postmeta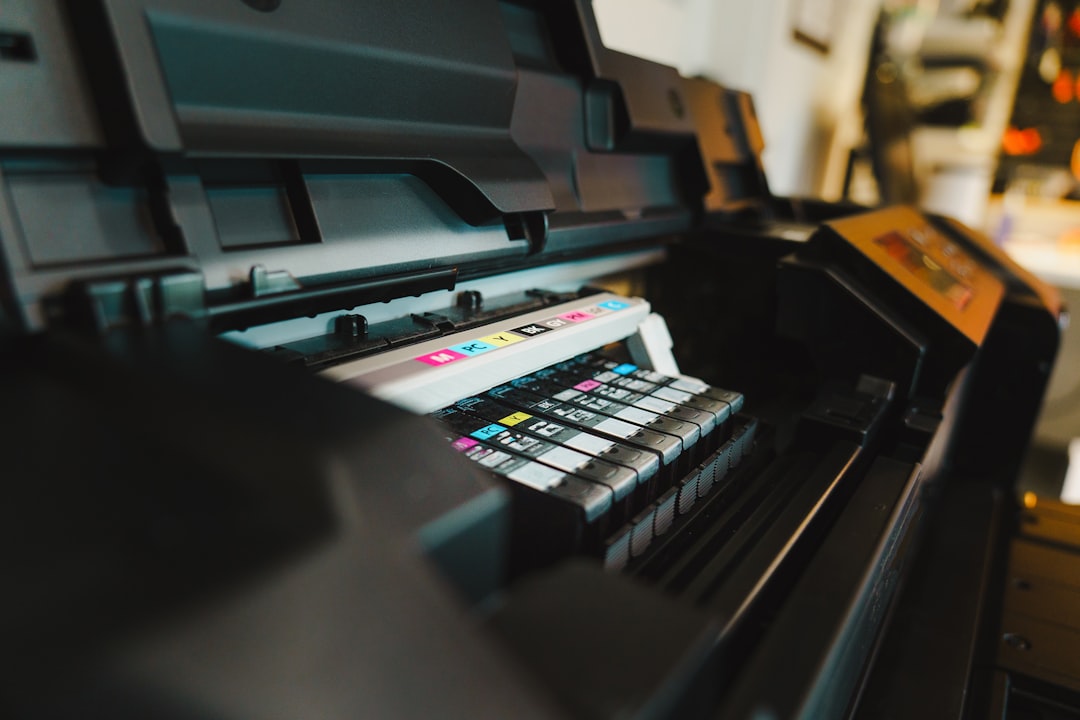
Step 5: Align the Printhead
If the printhead is slightly out of alignment, printed lines may look uneven, broken, or offset. While misalignment often causes blurry or shadowed text, it can also create thin white gaps, especially in graphics or photos.
Use your printer’s Printhead Alignment tool. This setting is usually found in the same maintenance menu as nozzle cleaning. The printer may print a test sheet and ask you to choose the best-looking pattern, or it may complete the alignment automatically.
Alignment is especially important after installing new cartridges, moving the printer, clearing a paper jam, or replacing the printhead. Even a small shift in the print mechanism can affect how ink lands on the page.
Step 6: Check Paper Type and Print Settings
Incorrect print settings can create streaks that look like hardware problems. For example, printing on glossy photo paper while the printer is set to plain paper may cause ink to be applied incorrectly. Likewise, using draft mode can reduce ink coverage and make white lines more visible.
Review these settings before printing again:
- Paper type: Match the setting to the actual paper, such as plain, matte, glossy, or photo paper.
- Print quality: Choose standard, high, or best quality for important documents and images.
- Color mode: Make sure color printing is enabled if you are printing color graphics.
- Borderless printing: Disable it temporarily if streaks appear near page edges.
- Paper size: Confirm the selected size matches the paper loaded in the tray.
For photos and designs, using high-quality paper can make a dramatic difference. Cheap or incompatible paper may absorb ink unevenly, causing pale bands, fuzzy edges, or washed-out areas.
Step 7: Inspect the Paper Path and Rollers
Paper feed problems can also produce white lines. If the paper moves unevenly through the printer, ink or toner may not land where it should. Dusty rollers, small scraps of paper, or debris inside the printer can all interfere with smooth movement.
Open the printer and look carefully for torn paper, labels, dust buildup, or foreign objects. Use a flashlight if necessary. Clean accessible rollers with a lint-free cloth slightly dampened with water, then let them dry before printing.
Do not oversaturate rollers or spray liquid directly into the printer. Moisture inside the device can cause electrical problems or make paper feeding worse.
Step 8: Fix White Lines on Laser Printers
Laser printers work differently from inkjets, so their white-line problems require different checks. A laser printer uses toner powder, a drum, rollers, heat, and static charge to transfer the image to paper. When one part fails or becomes dirty, vertical white streaks are common.
Try these fixes:
- Remove and shake the toner cartridge: Gently rocking it can redistribute toner inside the cartridge.
- Replace low toner: If the cartridge is nearly empty, streaks will return even after shaking.
- Check the drum unit: Scratches, dust, or wear on the drum can create repeated white lines.
- Clean the corona wire: Some laser printers include a small cleaning tab for this purpose.
- Inspect the transfer belt: On color laser printers, damage or contamination can affect print coverage.
If the white line appears in the exact same place on every page, suspect the toner cartridge, drum, or transfer mechanism. Replacing the cartridge is often the easiest test, especially if the drum is built into the toner unit.
Image not found in postmeta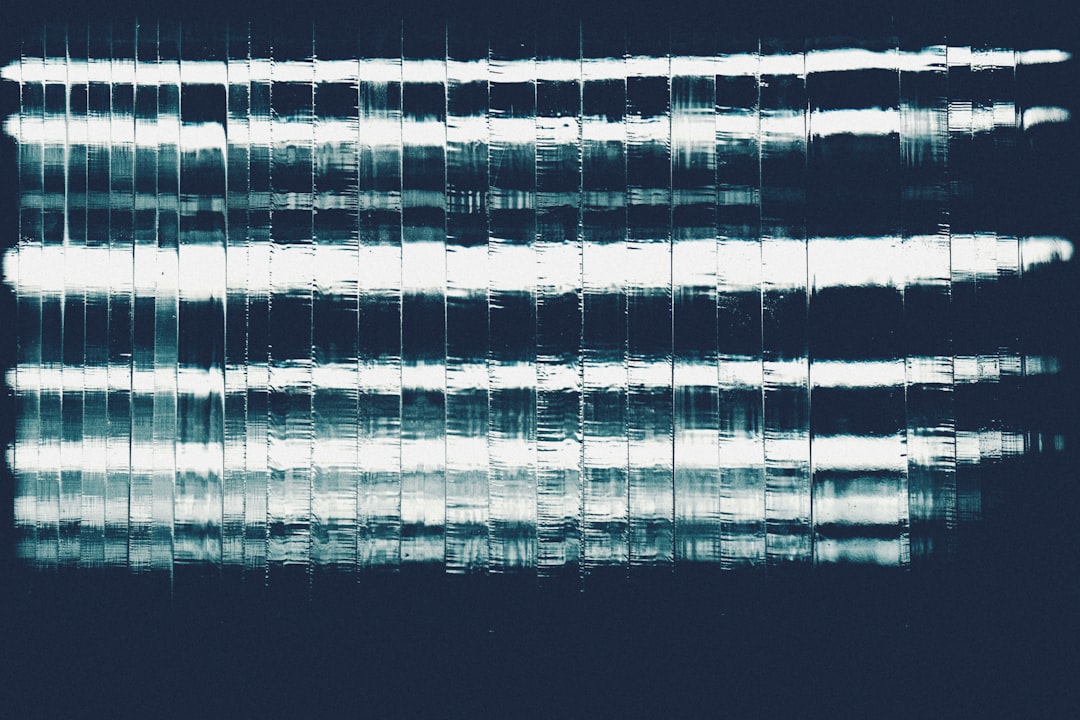
Step 9: Update or Reinstall the Printer Driver
Software can also cause strange print defects. An outdated or corrupted printer driver may send information incorrectly, resulting in missing lines, wrong colors, or incomplete graphics. This is especially likely if the issue started after an operating system update.
Visit the printer manufacturer’s website and download the latest driver for your exact model. Avoid relying only on generic drivers when printing graphics, photos, labels, or design files. After installing the updated driver, restart your computer and try printing again.
If the problem appears with only one program, test printing from another application. For example, print the same image from a PDF viewer, photo editor, and web browser. If one app creates white lines but others do not, the application settings or file rendering may be responsible.
Step 10: Use the Right File Format and Resolution
Sometimes the printer is innocent. The file itself may contain transparent gaps, low-resolution graphics, or compression artifacts that look like white lines on paper. This is common when printing screenshots, enlarged images, or files exported with poor settings.
For best results, use high-resolution files and export documents properly. PDFs are often more reliable than screenshots or copied images. If you are printing artwork, check the file at 100% zoom and look for visible gaps between design elements. Thin white seams can appear when shapes are not aligned perfectly.
When printing photos, avoid enlarging small images too much. A low-resolution image may show banding or pale lines simply because there is not enough image data to print smoothly.
When to Replace Cartridges, Printheads, or Parts
If you have tried cleaning, alignment, fresh supplies, proper settings, and driver updates but the lines remain, the printer may have a worn or damaged part. Inkjet printheads can fail over time, especially if the printer sits unused for long periods. Laser drums and transfer belts also wear out after a certain number of pages.
Replacement makes sense when:
- White lines appear on every print, regardless of file or setting.
- Nozzle checks show the same missing sections after repeated cleaning.
- The printer displays errors about the printhead, drum, or cartridge.
- A laser printer shows a fixed vertical line in the same location every time.
- The cost of replacement parts is reasonable compared with a new printer.
Before buying parts, compare the price of repair with the cost of a new printer. For inexpensive home printers, a new cartridge or printhead can sometimes cost nearly as much as replacing the whole unit.
How to Prevent White Lines in the Future
Prevention is easier than repair. Printers, especially inkjets, do not like sitting idle. When ink dries inside the nozzles, clogs form and white lines return. Printing a small color page once a week can keep ink flowing and reduce maintenance problems.
- Print regularly: Even a simple test page helps keep nozzles clear.
- Use quality supplies: Cheap ink or toner may save money upfront but can cause inconsistent results.
- Store paper properly: Humid or dusty paper can affect feeding and ink absorption.
- Keep the printer covered: Reducing dust helps protect rollers and internal parts.
- Turn the printer off correctly: Use the power button so the printhead parks in its protected position.
White lines may look like a serious printer failure, but in most cases they are a signal that the machine needs basic maintenance. Start with ink or toner, run a test page, clean and align the printhead, check paper settings, and inspect the printer’s internal path. With a little patience and a methodical approach, you can usually restore smooth, clean prints without replacing the printer.


