
Closing an Uber Eats account can feel like breaking up with a very tasty robot. You may have shared late-night fries, emergency noodles, and “I deserve tacos” moments. Still, if it is time to say goodbye, do it the safe way. A clean account closure protects your money, your data, and your peace of mind.
TLDR: Before closing your Uber Eats account, cancel active orders, use any credits, and save receipts you may need later. Then cancel Uber One or other subscriptions, remove payment methods if possible, and check your privacy settings. Finally, request account deletion through the app or website, then wait through the deactivation period before it is fully deleted.
First, Know What “Closing” Really Means
Before you tap anything that looks scary, pause for a second. Uber Eats is connected to your Uber account. In many places, deleting your Uber Eats account may also delete or affect your main Uber account. That means ride history, payment details, and access to Uber rides may be impacted too.
So ask yourself a tiny but important question:
- Do you want to stop using Uber Eats only?
- Do you want to delete your whole Uber account?
- Do you just want fewer emails and notifications?
If you only need a break, you can uninstall the app. You can also turn off notifications. You can remove payment cards. You can unsubscribe from emails. That is less dramatic. No digital fireworks needed.
But if you want the account gone for good, keep reading. We are packing the account’s suitcase properly.
Step 1: Finish Any Active Orders
Do not close your account while food is on the way. That is chaos with extra ketchup.
Check the app for current orders. Make sure there are no active deliveries, pending refunds, or support chats. If your driver is still bringing your Pad Thai, wait. If a refund is being reviewed, wait. If a restaurant charged you twice, solve that first.
Why? Because once account deletion starts, support can become harder. You may lose quick access to order details. You may also create confusion if a payment dispute is still open.
Simple rule: no open orders, no open problems, no loose ends.
Step 2: Save Important Receipts
Your Uber Eats history may include receipts you need later. Maybe for business meals. Maybe for tax records. Maybe to prove that yes, you really did spend that much on sushi in March.
Before closing the account, save anything important.
- Download or screenshot receipts.
- Save business meal records.
- Keep refund messages.
- Save gift card or promo details.
- Write down order numbers if needed.
You can usually find receipts in your email as well. Search your inbox for Uber Eats receipt. Save the messages as PDFs if you want a tidy folder.
This step is not exciting. It is not spicy. But future you may be very grateful.
Step 3: Use Credits, Gift Cards, and Promo Balances
Check your balance before you leave. You may have unused credits, gift card money, or promotions. Once the account is deleted, they may disappear. That would be sad. Like dropping fries on the floor.
Open the app and look for wallet, promotions, credits, or gift card balance. The exact names may change. Apps love moving buttons around like little goblins.
If you have money sitting there, decide what to do:
- Use the balance on a final order.
- Contact support if you think a credit should be refunded.
- Read the terms for gift cards or promos.
Some promo credits cannot be cashed out. Some gift card balances may have rules. Do not assume. Check first.
Step 4: Cancel Uber One or Any Subscription
This is a big one. If you have Uber One, cancel it before deleting the account. Uber One is the membership that can give delivery benefits, discounts, and other perks. If you forget to cancel, you may stay worried about future charges.
To check, open your Uber or Uber Eats app. Look for account settings. Then look for membership, Uber One, subscriptions, or billing.
Cancel the membership and confirm the cancellation. Take a screenshot of the confirmation. This gives you proof if a charge appears later.
Pro tip: check your bank or card statement after the next billing date. Make sure no new subscription charge appears. Trust, but verify. Like checking the pizza box before the driver leaves.
Step 5: Remove Payment Methods If You Can
Next, review your payment methods. You may have credit cards, debit cards, PayPal, Apple Pay, Google Pay, Venmo, or other options connected.
If the app allows it, remove payment methods before you delete the account. Sometimes a platform may require one payment method to remain if there are active charges. If so, clear all issues first.
To be extra safe, also check connected payment services. For example, if you used PayPal, open PayPal and review automatic payments. If you used Apple Pay or Google Pay, check wallet settings. Remove Uber if it appears as a connected merchant.
This is not because something bad will happen. It is just good digital hygiene. Think of it as brushing your account’s teeth before bedtime.

Step 6: Check Your Personal Data
Your account may contain more than food orders. It may include your name, phone number, addresses, payment details, order history, ratings, messages, and device information.
Before deleting the account, decide if you want a copy of your data. Uber may provide a way to request or download account data through privacy settings. Look in the privacy center or account data area.
You may want this if:
- You need records for work.
- You want your order history.
- You want to review what data is stored.
- You are switching accounts and need details.
Data requests can take time. Do this before you start deletion. Once deletion begins, access may be limited.
Step 7: Turn Off Notifications and Emails
This step is optional, but useful. Before closing the account, turn off marketing emails and push notifications. This helps reduce messages during the closure period.
Go to settings in the app. Look for privacy, communications, notifications, or email preferences. Turn off anything you do not want.
You can also unsubscribe from promotional emails using the unsubscribe link at the bottom of an Uber Eats email. Be careful with fake emails. Only click links in messages you trust. If in doubt, go directly to the app or official website instead.
Step 8: Sign Out of Other Devices
If you used Uber Eats on more than one phone, tablet, or browser, sign out. This is especially important if you used a shared device. Maybe a work computer. Maybe a friend’s tablet. Maybe that dusty old phone in a drawer.
Change your password if you think someone else may have access. Also check whether two-step verification is available. Strong security is always a good idea, even when leaving.
Here is a quick safety checklist:
- Log out of old phones.
- Log out of shared computers.
- Change your password if needed.
- Check for suspicious activity.
- Make sure your email account is secure.
Your Uber Eats account may be closing, but your personal information still deserves a bodyguard.
Step 9: Request Account Deletion in the App
Now comes the main event. The exact steps may vary by country and app version. But the path usually looks something like this:
- Open the Uber Eats or Uber app.
- Tap Account.
- Go to Settings.
- Find Privacy.
- Open the Privacy Center.
- Look for Account deletion or Delete your account.
- Follow the prompts.
- Confirm your choice.
You may need to verify your identity. This could mean entering a code sent to your phone or email. Do not share that code with anyone. Support agents should not need your password.
If you cannot find the deletion option in the app, try logging in through a web browser. Look for account, help, privacy, or data settings. You can also contact Uber support and ask for account deletion instructions.
Step 10: Understand the Waiting Period
Account deletion is often not instant. Uber may deactivate the account first. After a waiting period, often around 30 days, the account may be permanently deleted.
During this time, do not log back in unless you want to reactivate the account. In some systems, signing back in can cancel the deletion request. That is like telling your ex, “Actually, I miss the nuggets.”
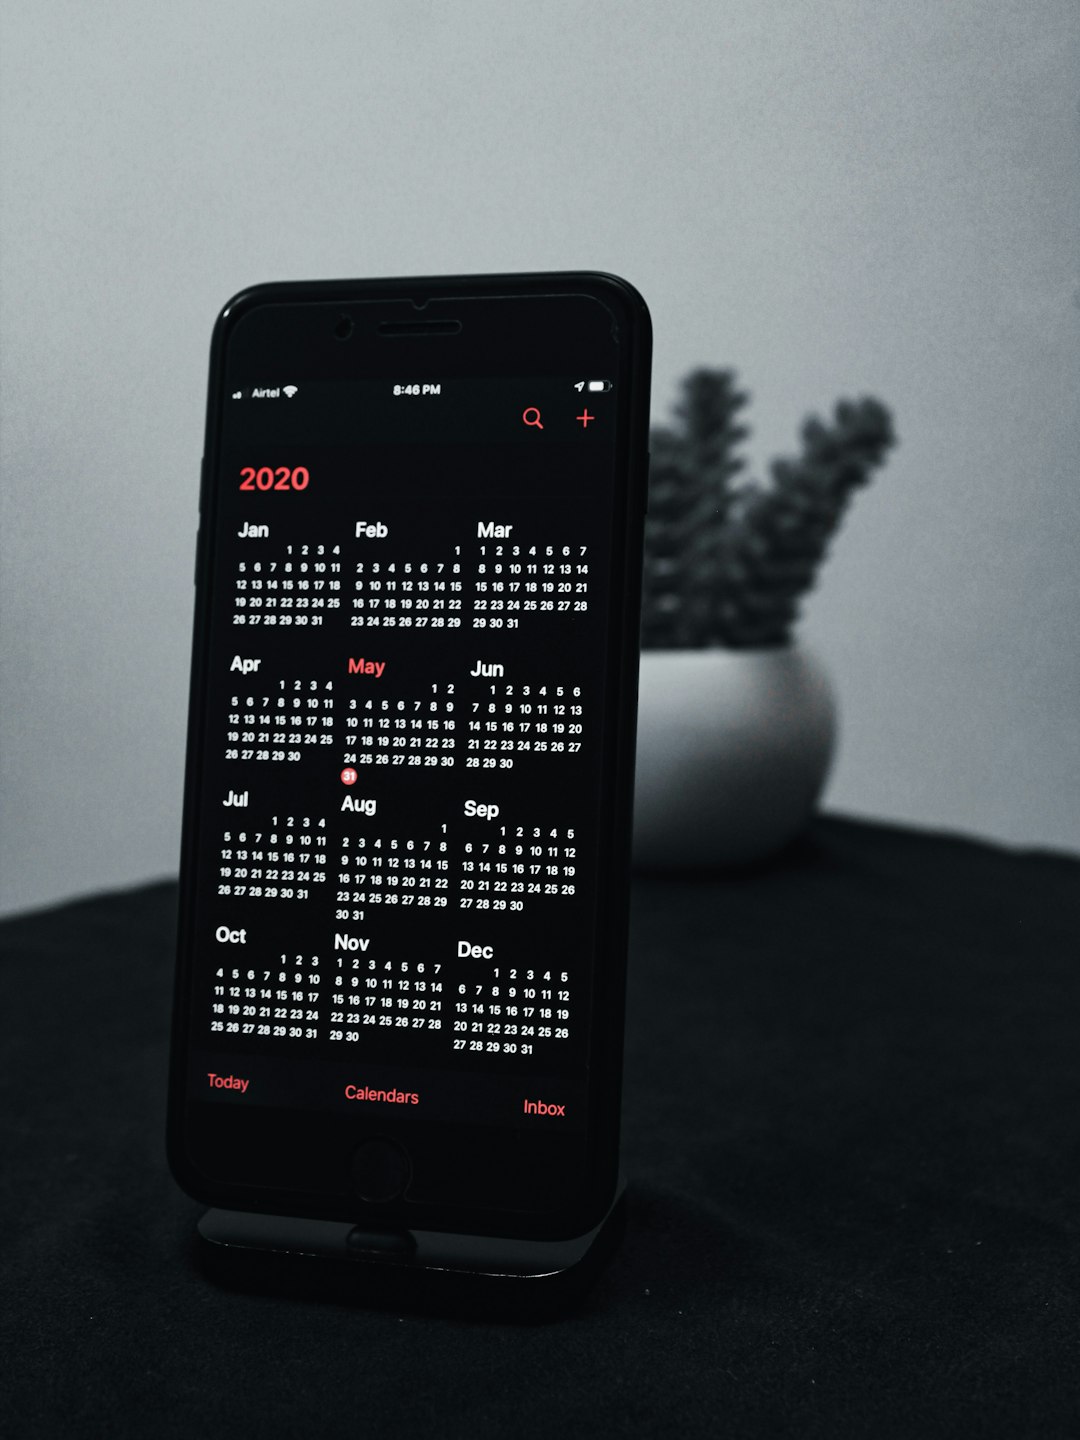
Mark the deletion date on your calendar. Then wait. After the period ends, try not to log in again. If you receive unexpected emails or charges, contact support.
Step 11: Check Your Bank Statement
After closing the account, watch your payment statements. Look for any final charges, refunds, or subscription fees.
Some charges can post late. For example, an order adjustment or tip may appear after the delivery. That can be normal. But if you see a charge you do not recognize, act quickly.
Do this:
- Compare the amount to your last orders.
- Check your email receipts.
- Contact Uber support if needed.
- Contact your bank if the charge looks fraudulent.
Do not ignore strange charges. Small mystery charges can be clues. Follow the crumbs.
Step 12: Delete the App From Your Phone
Once everything is settled, remove the app. On most phones, press and hold the app icon. Then choose delete, uninstall, or remove.
This does not delete the account by itself. It only removes the app from your device. That is why you should request account deletion first if you want the account closed.
Still, deleting the app helps. It removes temptation. No more accidental “just browsing desserts” at midnight.
What If You Only Want to Stop Using Uber Eats?
You may not need full deletion. If your goal is privacy, spending control, or fewer notifications, try lighter options first.
You can:
- Uninstall the Uber Eats app.
- Remove saved cards.
- Turn off marketing emails.
- Cancel Uber One.
- Delete saved addresses.
- Set app limits on your phone.
This keeps your Uber account available for rides. It also makes it easier to return later if you change your mind.
Common Mistakes to Avoid
Closing an account is simple, but small mistakes can create big headaches. Avoid these classic oops moments:
- Deleting the app only. This does not close the account.
- Forgetting Uber One. Cancel subscriptions first.
- Leaving gift card money unused. Check balances before leaving.
- Ignoring refunds. Resolve them before deletion.
- Not saving receipts. You may need them later.
- Logging back in too soon. This may stop deletion.
Think of it like moving out of an apartment. You do not just walk away. You grab your stuff, cancel the utilities, return the keys, and make sure nobody keeps billing you for the fridge.
A Quick Safe Closure Checklist
Here is the whole process in one neat little basket:
- Finish all active orders.
- Resolve refunds and support issues.
- Save receipts and records.
- Use credits, promos, and gift cards.
- Cancel Uber One or other subscriptions.
- Remove payment methods where possible.
- Request a copy of your data if wanted.
- Turn off emails and notifications.
- Sign out of shared devices.
- Request account deletion.
- Wait through the deactivation period.
- Check bank statements afterward.
- Delete the app from your phone.
Final Bite
Closing an Uber Eats account safely is not hard. You just need to do things in the right order. Clear out money matters first. Save anything important. Cancel subscriptions. Then request deletion.
Take your time. Tap carefully. Keep proof of cancellations and receipts. Then enjoy your cleaner digital life.
And if you ever miss the app, remember this: your kitchen is still open. It may not have a delivery tracker, but it also does not charge a service fee.


